Ultrasonic Level Sensor Home Assistant
Ultrasonic Level Sensor Home Assistant: A Guide to Industrial-Grade Integration
In the realm of modern automation, the integration of precise measurement hardware with flexible software platforms has become a standard for both industrial facilities and sophisticated residential management systems. For engineers and automation enthusiasts looking to monitor liquid levels in tanks, cisterns, or sumps, the use of an ultrasonic level sensor Home Assistant setup offers a robust solution that bridges the gap between professional-grade reliability and customizable data visualization.
While many entry-level DIY projects utilize hobbyist components, industrial-grade Ultrasonic Level Meters provide the accuracy, durability, and signal stability required for critical applications. This guide explores the principles of ultrasonic measurement, the technical requirements for Home Assistant integration, and the selection criteria for professional hardware.
Understanding Ultrasonic Measurement Principles
Before selecting hardware for a Home Assistant integration, it is essential to understand how these sensors operate. Ultrasonic level measurement is a non-contact technology based on the "Time-of-Flight" (ToF) principle.
The Time-of-Flight Mechanism
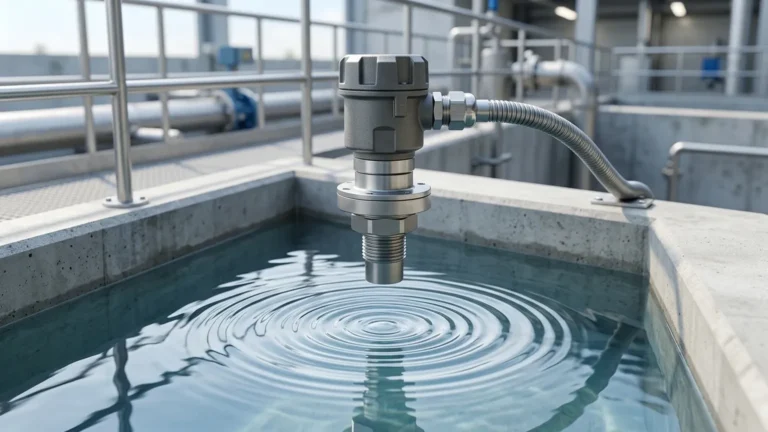
An ultrasonic transducer acts as both a transmitter and a receiver. It emits high-frequency sound pulses (typically between 20 kHz and 200 kHz) toward the surface of the medium being measured. These sound waves reflect off the surface and return to the transducer.
The sensor’s internal processor calculates the distance using the following formula:
Distance = (Speed of Sound × Time Delay) / 2
Since the speed of sound in air is approximately 343 meters per second (at 20°C), the device can determine the distance to the liquid surface with high precision. By subtracting this distance from the total height of the tank, the system calculates the actual level or volume of the liquid.
The Importance of the "Dead Zone"
Every ultrasonic sensor has a "dead zone" (also known as the blocking distance or blanking distance) immediately in front of the transducer face. In this zone, the sensor cannot accurately process the returning signal because the transducer is still vibrating from the initial pulse. For industrial sensors, this zone typically ranges from 0.2m to 0.5m depending on the frequency. When designing an ultrasonic level sensor Home Assistant integration, the sensor must be mounted high enough to ensure the maximum liquid level never enters this dead zone.
Integrating Industrial Sensors with Home Assistant
Home Assistant is an open-source automation platform that excels at aggregating data from various protocols. To connect a professional ultrasonic level meter to Home Assistant, one must consider the output signal of the sensor.
1. 4-20mA Analog Integration
Most industrial ultrasonic level meters utilize a 4-20mA current loop. This is a standard in the process industry because it is highly resistant to electrical noise over long cable runs. To bring this into Home Assistant, you typically use an Analog-to-Digital Converter (ADC) connected to an ESP32 or ESP8266 microcontroller running ESPHome or Tasmota.
2. Modbus RTU (RS485)
For higher precision and diagnostic data, Modbus RTU is preferred. Many Welk ultrasonic sensors support RS485 communication. Home Assistant can communicate directly with these sensors using a Modbus-to-USB adapter or an RS485-to-Ethernet gateway. This method allows the user to pull not just the level data, but also signal strength and temperature compensation values.
3. MQTT via Gateway
For distributed systems, sensors can be connected to a local PLC or an IoT gateway that publishes data via the MQTT protocol. Home Assistant’s native MQTT integration makes this one of the most stable ways to monitor industrial level meters across a large facility or estate.
Selection Criteria for Ultrasonic Level Meters
Choosing the right sensor involves more than just checking the range. The environment and the medium significantly impact performance. Use the following table as a baseline for evaluating professional-grade sensors for your Home Assistant project.
| Feature | Industrial Ultrasonic Meter | Hobbyist/Consumer Sensor |
| :— | :— | :— |
| Housing Material | PVDF / Stainless Steel / ABS | Unprotected PCB / Plastic |
| Accuracy | 0.2% to 0.5% of range | 1% to 5% (variable) |
| Ingress Protection | IP66 / IP67 / IP68 | IP20 to IP44 |
| Signal Processing | False echo suppression & AGC | Basic threshold detection |
| Temperature Comp. | Integrated automatic compensation | Often manual or absent |
| Output Options | 4-20mA, Modbus, HART | PWM or I2C (short distance) |
Key Considerations for Selection:
1. Measuring Range: Ensure the sensor’s maximum range exceeds your tank depth by at least 10-20% to account for signal attenuation.
2. Beam Angle: Ultrasonic waves spread in a cone. A narrower beam angle (e.g., 5° to 10°) is necessary for narrow tanks to avoid false reflections from the walls or internal ladders.
3. Chemical Compatibility: If measuring chemicals or wastewater, the transducer face must be made of resistant materials like PVDF.
Practical Installation Guidelines
To ensure the ultrasonic level sensor Home Assistant dashboard provides reliable data, proper physical installation is paramount. Incorrect mounting is the leading cause of "signal lost" errors or erratic readings.
Mounting Position
* Avoid the Center: In cylindrical tanks, do not mount the sensor in the exact center, as this can create a focal point for multiple reflections (standing waves) that confuse the sensor.
* Stay Away from Inlets: Ensure the sensor is not positioned directly above the filling stream. Turbulence and bubbles from the inlet will scatter the ultrasonic signal.
* Perpendicularity: The sensor face must be perfectly parallel to the liquid surface. Even a few degrees of tilt can prevent the echo from returning to the transducer, especially at longer distances.
Clearance Requirements
Maintain a clear path for the ultrasonic beam. Obstructions such as heating coils, internal pipes, or reinforcement struts will reflect the signal. Professional sensors often include "false echo suppression" software, allowing the user to program the sensor to ignore these fixed reflections, but physical clearance is always the best practice.
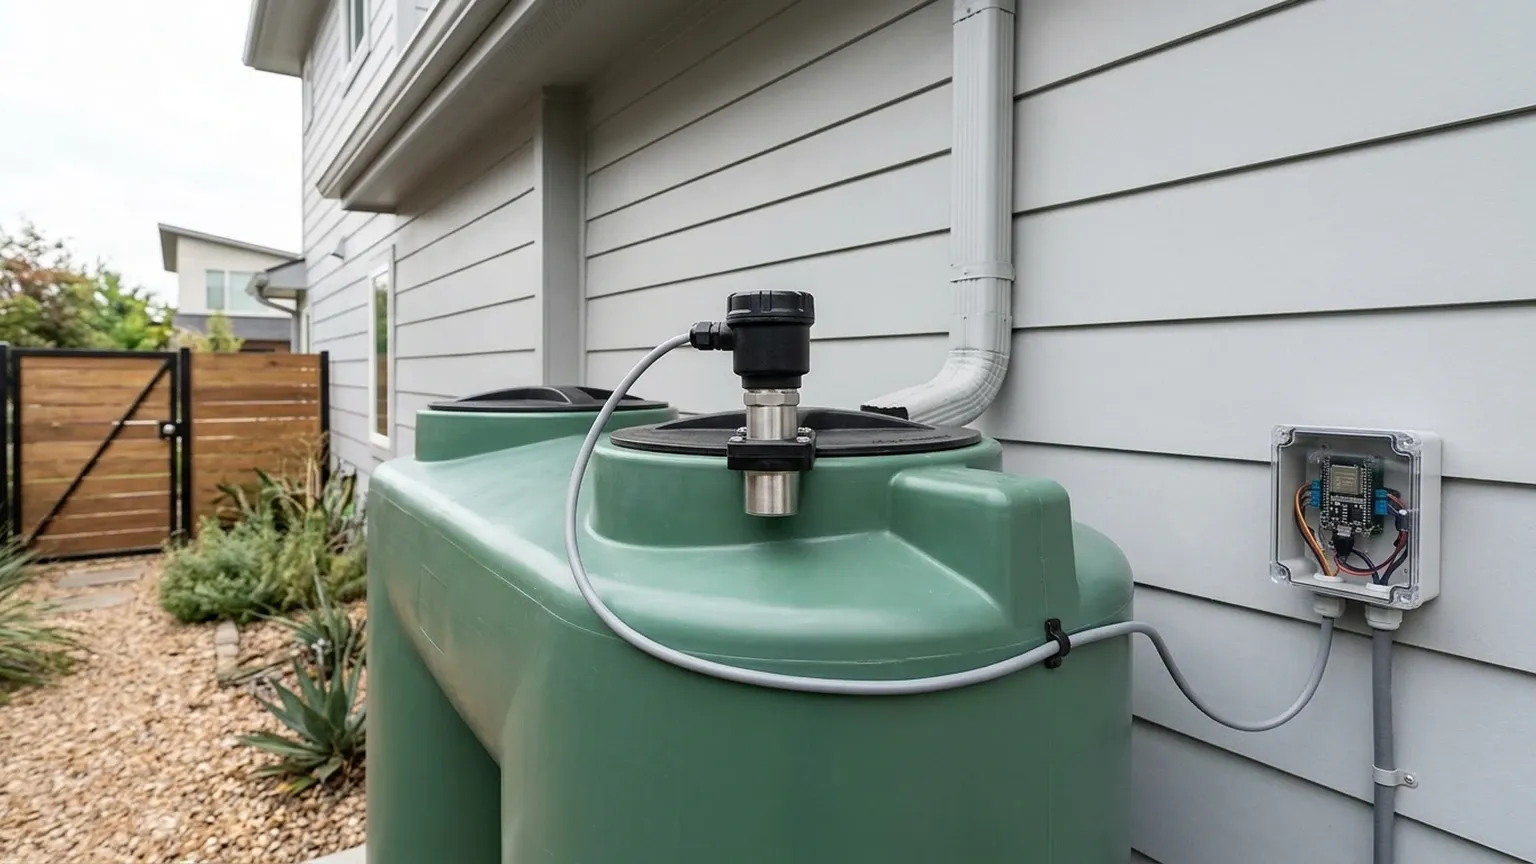
Environmental Limitations and Challenges
While ultrasonic technology is versatile, it is not a universal solution. Engineers should be aware of the following limitations:
* Foam: Heavy foam on the surface of a liquid absorbs the ultrasonic pulse rather than reflecting it. This results in a "lost echo" or significantly reduced range. For foamy applications, a radar level meter or a hydrostatic pressure transmitter is usually recommended.
* Vacuum or High Pressure: Sound requires a medium (air/gas) to travel. Ultrasonic sensors cannot function in a vacuum. Furthermore, high pressure changes the density of the air, affecting the speed of sound and requiring specialized calibration.
* Vapor and Dust: Dense steam or heavy dust can attenuate the signal. While high-powered industrial sensors can penetrate some vapor, extreme conditions may require frequency adjustments or a transition to radar technology.
Configuring Home Assistant for Level Monitoring
Once the hardware is installed and the signal is converted to a digital format, the configuration in Home Assistant involves creating a template sensor to convert the raw distance into meaningful data.
Example YAML Configuration (ESPHome)
For a sensor outputting a 0-10V or 4-20mA signal via an ADC, the configuration might look like this:
“`yaml
sensor:
- platform: ads1115
multiplexer: 'A0_GND'
gain: 4.096
name: "Tank Raw Voltage"
update_interval: 10s
filters:
- calibrate_linear:
- 0.8 -> 0.0 # 4mA equals 0 meters
- 4.0 -> 5.0 # 20mA equals 5 meters
- platform: template
name: "Water Tank Volume"
unit_of_measurement: "L"
lambda: |-
return (5.0 – id(tank_raw_distance).state) * 1000; // Example for a 5000L tank
“`
This level of customization allows for real-time alerts. For instance, Home Assistant can send a notification to a mobile device when a chemical tank reaches 15% capacity or automatically shut off a pump if a high-level threshold is crossed.
Frequently Asked Questions (FAQ)
Q: Can I use an ultrasonic sensor to measure solids like grain or sand?
A: Yes, but with caveats. Solids do not reflect sound as uniformly as liquids. They often form a conical shape, which scatters the signal. You will need a sensor with a higher power output and potentially a larger transducer to capture the scattered echoes.
Q: How does temperature affect my Home Assistant readings?
A: The speed of sound changes by approximately 0.6 m/s per degree Celsius. If your tank is outdoors, a 20°C temperature swing can cause a significant error (approx. 3-5%). Professional Ultrasonic Level Meters include a built-in temperature sensor to automatically compensate for this in real-time.
Q: What is the maximum distance an ultrasonic sensor can measure?
A: Standard industrial units typically cover ranges from 5 meters to 15 meters. Specialized long-range sensors can reach up to 30 or 40 meters, though these use lower frequencies and have larger dead zones.
Q: Is it better to use WiFi or a wired connection for the sensor?
A: For industrial reliability, a wired connection (4-20mA or Modbus) is superior. If the sensor is in a remote location, using a shielded cable to a central gateway is preferred over WiFi, which can be obstructed by metal tanks or concrete walls.
Conclusion
Implementing an ultrasonic level sensor Home Assistant system provides a powerful tool for process monitoring and inventory management. By choosing professional hardware from manufacturers like Welk, users ensure they are getting calibrated, temperature-compensated data that remains accurate over years of service. Whether monitoring water resources, chemical storage, or industrial sumps, the combination of robust ultrasonic technology and modern automation platforms delivers a high-performance solution for today’s data-driven environments.