
How to Install Viga Tails
How to Install Viga Tails
In the realm of architectural design and industrial-grade construction, viga tails serve as a primary aesthetic and structural element, particularly in Southwestern and Spanish Colonial styles. Traditionally, a "viga" is a heavy timber beam that supports the roof, with the "tail" being the portion of the beam that extends beyond the exterior wall. In modern commercial and residential applications, these are often installed as decorative accents rather than structural members. However, the precision required for their installation remains a matter of rigorous engineering.
Whether utilizing natural timber or high-density synthetic materials, understanding the mechanics of alignment, moisture management, and fastening is essential. This guide provides a technical overview of how to install viga tails, emphasizing the measurement principles and installation protocols required for a professional finish.
Measurement Principles and Alignment
Before proceeding with recommendations for specific materials or fastening methods, it is critical to understand the measurement principles that govern a successful installation. In industrial construction, the visual impact of viga tails depends entirely on their spatial consistency across a building’s facade.
Geometric Alignment and Leveling
Precision starts with the establishment of a horizontal datum line. Because exterior walls may have slight variances in height or texture, installers must not rely solely on the roofline for placement.
1. Horizontal Parallax: When installing multiple viga tails across a long span (e.g., 10 to 20 meters), even a 5mm deviation can become visible to the naked eye.
2. Hydrostatic Leveling: For high-precision projects, using the principle of hydrostatic leveling—similar to the technology used in industrial level transmitters—ensures that all tails are perfectly aligned across different planes of the building.
3. Plumb and Square: Each tail must be checked for plumb (verticality) and squareness relative to the wall surface. A deviation of more than 1 degree can lead to uneven weathering and structural stress on the fasteners.
Load Distribution
Even decorative viga tails exert a cantilevered force on the exterior cladding. The calculation of the center of gravity for each tail is necessary to determine the placement of internal blocking or lag bolts. For a standard 300mm (approx. 12-inch) extension, the downward torque must be offset by a fastening system rated for at least three times the static weight of the tail to account for wind loads and snow accumulation.
Material Selection and Evaluation Criteria
Choosing the right material is the first step in the installation process. The choice impacts the fastening method and the long-term maintenance requirements of the project.
| Material Type | Average Density (kg/m³) | Durability Rating | Installation Complexity | Best Use Case |
| :— | :— | :— | :— | :— |
| Natural Cedar/Fir | 380 – 500 | Medium-High | High (Weight/Sealing) | Authentic restorations |
| High-Density Polyurethane | 200 – 300 | Very High | Low (Lightweight) | Commercial facades |
| Glass Fiber Reinforced Concrete (GFRC) | 1,900 – 2,100 | Extreme | Very High (Requires Hoist) | High-end industrial builds |
| Faux Wood Composites | 500 – 700 | High | Medium | General commercial use |
How to Install Viga Tails: Step-by-Step Process
The following procedure outlines the professional method for installing decorative viga tails onto a finished exterior surface, such as stucco, brick, or EIFS (Exterior Insulation and Finish Systems).
Step 1: Layout and Marking
Using the measurement principles discussed above, mark the center point for each viga tail. Use a laser level or a high-precision string line to ensure all marks are on the same horizontal plane. In industrial applications, it is common to use a template to mark the diameter of the tail to ensure the mounting hardware is centered perfectly.
Step 2: Preparing the Mounting Surface
If the viga tails are being installed on a new build, internal blocking should be installed behind the wall sheathing during the framing stage. For retrofits, you must locate the studs or structural members.
* For Stucco/EIFS: Carefully cut a small pilot hole to confirm the substrate.
* For Masonry: Use a hammer drill to create apertures for expansion anchors.
Step 3: Installing the Mounting Plate or Blocking
Most modern viga tails utilize a "sleeve" or "plug" system.
1. Secure a wooden or metal mounting block (slightly smaller than the internal diameter of the viga tail) to the wall using heavy-duty lag bolts (typically 12mm or 1/2 inch in diameter).
2. Apply a high-grade structural adhesive to the back of the viga tail where it will meet the wall. This provides a secondary fail-safe and prevents moisture ingress.
Step 4: Mounting the Viga Tail
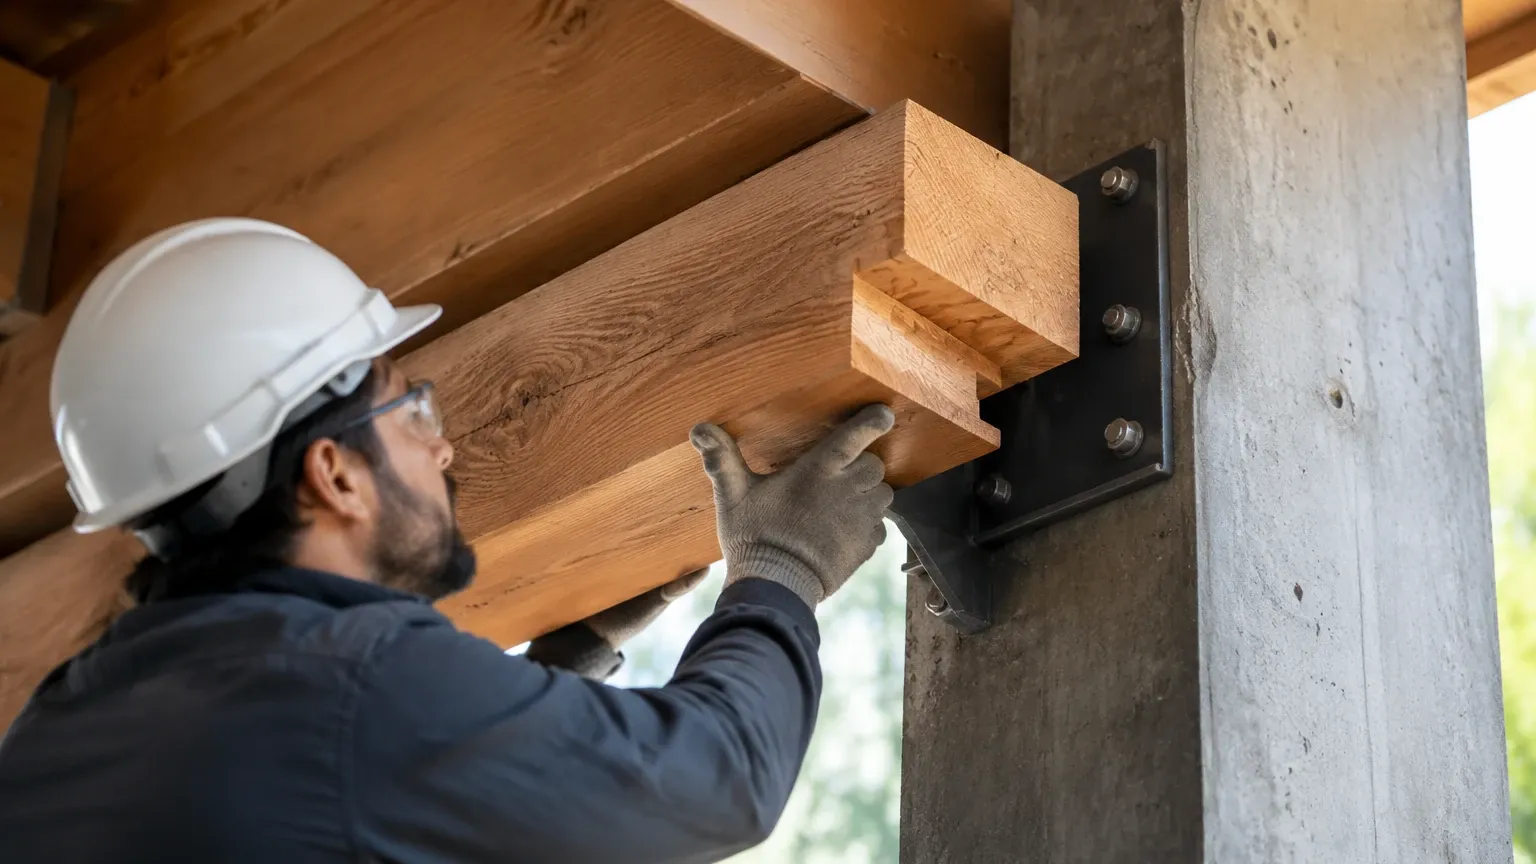
Slide the viga tail over the mounting block. For natural wood tails, this may require a crane or hoist depending on the diameter and length. Once in place, secure the tail to the block using countersunk stainless steel screws from the top or sides where they will be least visible.
Step 5: Sealing and Waterproofing
This is the most critical step for longevity. Apply a high-quality, paintable silicone or polyurethane sealant around the perimeter where the tail meets the wall. This prevents water from seeping behind the tail and causing rot or delamination of the wall surface.
Installation Considerations and Limitations
When learning how to install viga tails, one must be aware of the technical limitations that can lead to project failure.
* Moisture Content: For natural wood viga tails, ensure the wood has been kiln-dried to a moisture content of 12-15%. Installing "green" wood will lead to significant shrinkage, cracking, and potential fastener failure as the wood dries.
* Thermal Expansion: Synthetic materials, such as polyurethane, have a higher coefficient of thermal expansion than wood. In regions with extreme temperature swings, leave a 2mm gap at the joint, filled with flexible sealant, to allow for movement.
* Weight Restrictions: Never attempt to mount a solid timber viga tail (which can weigh over 50kg) to thin-coat stucco without structural backing. The weight will eventually pull the stucco away from the lath.
* Environmental Exposure: In coastal areas, all hardware must be Grade 316 stainless steel to prevent galvanic corrosion.
Maintenance and Monitoring
In industrial and commercial settings, viga tails should be inspected annually. Check for:
1. Sealant Integrity: Look for gaps or peeling in the caulking.
2. Fastener Stability: Ensure the tail does not "wiggle" or show signs of sagging.
3. Biological Growth: In humid climates, wood tails may require periodic treatment with fungicides.
For engineers and project managers looking for high-precision tools to assist in the alignment and monitoring of large-scale industrial projects, you can Review product options and application support to find solutions for accurate measurement and leveling.
Frequently Asked Questions (FAQs)
Can viga tails be installed on top of existing siding?
While possible, it is not recommended. It is best to cut away a small section of the siding so the viga tail or its mounting block can be fastened directly to the structural sheathing or studs. This ensures a flush fit and better waterproofing.
How deep should the lag bolts penetrate the wall?
For standard decorative tails, the lag bolt should penetrate at least 65mm (approx. 2.5 inches) into the solid structural framing. This does not include the thickness of the stucco or foam insulation.
Do I need to finish the viga tails before or after installation?
It is highly recommended to apply at least one coat of sealer or primer to all sides of the viga tail—including the back side that faces the wall—before installation. This provides a complete moisture barrier that is impossible to apply once the tail is mounted.
What is the standard spacing for viga tails?
Architecturally, they are usually spaced 600mm to 1200mm (2 to 4 feet) apart, often aligning with the internal rafters of the building. However, this is largely a design choice rather than a structural requirement for decorative models.
Conclusion
Successfully installing viga tails requires a blend of architectural appreciation and mechanical precision. By adhering to strict measurement principles and selecting the appropriate fastening systems for the material at hand, installers can ensure these iconic features remain secure and aesthetically pleasing for decades. For more information on precision measurement and industrial-grade instrumentation, visit the Main Page of Welk's technical resource center.


