Ph Probe Installation
Ph Probe Installation
In industrial process control, the accurate measurement of pH is as critical as monitoring fluid levels or flow rates. Whether in wastewater treatment, chemical processing, or cooling water management, the longevity and reliability of a pH sensor depend heavily on its initial setup. Proper ph probe installation ensures that the sensor provides a stable signal, requires less frequent calibration, and achieves its maximum possible service life.
While Welk is a recognized leader in providing high-precision level measurement instruments, such as radar level meters and ultrasonic sensors found at the Main Page, the integration of liquid analytical sensors like pH probes is a common requirement in the same industrial environments. This guide provides a comprehensive technical overview of the principles, selection criteria, and installation best practices for pH probes in industrial applications.
Principles of pH Measurement
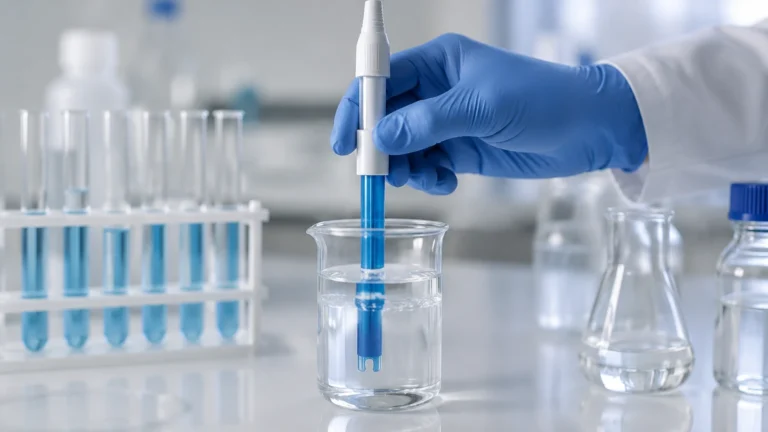
Before proceeding with installation, it is essential to understand the electrochemical principles that govern pH measurement. A standard industrial pH probe is a potentiometric sensor that measures the hydrogen ion activity in a solution.
The Glass Electrode and Reference System
Most industrial pH probes are "combination electrodes," meaning they house both a measuring electrode and a reference electrode in a single body.
1. Measuring Electrode: This consists of a pH-sensitive glass membrane. When immersed in a liquid, a hydrated gel layer forms on both the inside and outside of the glass. The potential difference across this membrane is proportional to the concentration of hydrogen ions ($H^+$).
2. Reference Electrode: This provides a stable, known potential against which the measuring electrode is compared. It typically uses a silver/silver chloride (Ag/AgCl) system immersed in a potassium chloride (KCl) electrolyte.
3. The Junction: To complete the electrical circuit, the internal electrolyte must make contact with the process liquid through a porous junction (made of ceramic, Teflon, or wood).
The Nernst Equation
The relationship between the measured voltage and the pH value is defined by the Nernst Equation. At 25°C (77°F), a change of one pH unit corresponds to a change of approximately 59.16 millivolts (mV). Because this voltage is temperature-dependent, most modern installations include an Automatic Temperature Compensation (ATC) element, such as a Pt100 or Pt1000 RTD, within the probe assembly.
Pre-Installation Selection Criteria
Selecting the correct probe for the specific process environment is the first step in a successful installation. Using a general-purpose probe in a specialized environment will lead to rapid failure regardless of how well it is installed.
Practical Selection Table
| Application | Recommended Probe Feature | Why? |
| :— | :— | :— |
| Wastewater Treatment | Large surface area ceramic or Teflon junction | Resists clogging from suspended solids and oils. |
| High-Pressure Lines | Pressurized or solid-state electrolyte | Prevents process fluid from entering the probe (poisoning). |
| Chemical Processing | High-temperature glass / PVDF body | Maintains structural integrity in aggressive reagents. |
| Pure Water (Low Conductivity) | Flowing reference or refillable electrolyte | Ensures stable junction potential in low-ion environments. |
| Hydrofluoric Acid (HF) | HF-resistant glass membrane | Standard glass is etched and destroyed by HF. |
Core Installation Considerations
Successful ph probe installation requires balancing chemical compatibility with physical accessibility and hydraulic requirements.
1. Mounting Orientation
The most critical rule in pH probe installation is the mounting angle. A pH probe should never be installed horizontally or upside down.
* The 15° Rule: The probe must be installed at least 15° above the horizontal plane. This ensures that the internal air bubble in the glass bulb stays at the top of the electrode, keeping the internal buffer solution in constant contact with the pH-sensitive glass membrane.
* Vertical Installation: Ideally, the probe is mounted vertically (90°) for the most stable performance.
2. Flow Velocity and Turbulence
While some flow is necessary to ensure the probe sees a representative sample of the process, excessive velocity can cause several issues:
* Streaming Potentials: High flow rates across the junction can create electrical noise, leading to erratic readings.
* Abrasive Wear: If the liquid contains solids, high velocity will erode the glass membrane.
* Recommended Velocity: Maintain a flow rate between 0.5 m/s and 2 m/s (approx. 1.6 to 6.5 ft/s).
3. Pressure and Temperature Limits
Standard pH probes are typically rated for pressures up to 6 bar (87 psi) and temperatures up to 80°C (176°F). In high-pressure applications, the process pressure can force contaminants into the reference junction, "poisoning" the probe. For these scenarios, use a pressurized housing or a probe with a solid polymer electrolyte.
Installation Methods
There are three primary ways to install a pH probe into an industrial process. The choice depends on whether the process can be shut down for maintenance and the nature of the fluid.
In-Line Installation
The probe is mounted directly into a pipe using a T-piece or a specialized flow cell.
* Pros: Real-time measurement with no lag; simple hardware.
* Cons: The process must be drained or bypassed to remove the probe for calibration.
Submersion Installation
Common in tanks and open channels, the probe is attached to an extension pipe (immersion tube) and lowered into the liquid.
* Considerations: Ensure the cable entry is sealed against moisture. Use a protective shroud around the glass bulb to prevent damage from floating debris or agitators.
Retractable (Hot-Tap) Installation
This involves a retractable assembly that allows the probe to be withdrawn from a pressurized pipe without stopping the process flow.
* Pros: Allows for cleaning and calibration at any time; increases safety.
* Cons: Higher initial equipment cost; requires more space for the retraction mechanism.
Step-by-Step Installation Guide
Once the location and method are determined, follow these steps to ensure the probe is ready for service:
1. Unpack and Inspect: Remove the protective cap (soaker bottle). Check the glass bulb for cracks and the junction for salt crystal buildup. Some salt buildup is normal and can be rinsed off with deionized water.
2. Hydration: If the probe has been stored dry, soak the tip in a pH 4 buffer solution or a 3M KCl solution for at least 4 hours (ideally 24 hours) to rehydrate the gel layer.
3. Wiring: Use high-quality shielded cables. pH signals are high-impedance and extremely sensitive to electromagnetic interference (EMI). Keep the cable length as short as possible. If the distance to the transmitter exceeds 15 meters (50 feet), use a pre-amplifier.
4. Initial Calibration: Perform a two-point calibration using fresh buffer solutions (typically pH 7.00 and pH 4.01 or 10.01).
* Zero Point: Calibrate in pH 7 buffer first.
* Slope: Calibrate in the second buffer to determine the efficiency of the probe.
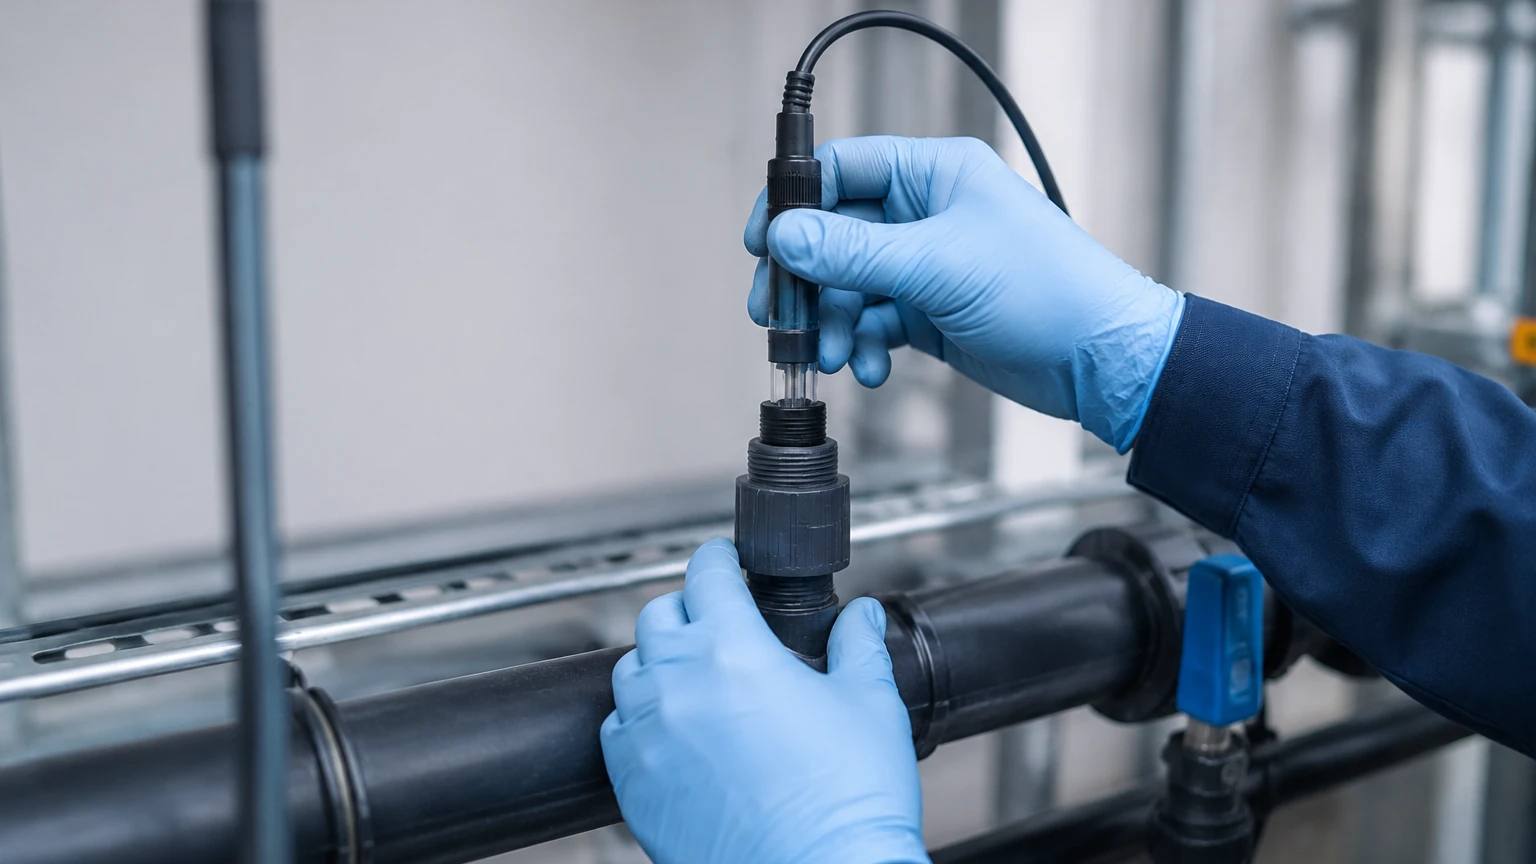
5. Mounting: Insert the probe into the fitting. Hand-tighten only; over-tightening can crack the plastic threads or damage the internal seals.
Maintenance and Calibration Protocols
A pH probe is a consumable item. Even with perfect installation, its performance will degrade over time due to aging and process exposure.
Cleaning Procedures
If the response time becomes sluggish or the slope drops below 85%, the probe likely needs cleaning.
* General Debris: Rinse with warm water and mild detergent.
* Inorganic Scale (Calcium): Soak in 5% Hydrochloric Acid (HCl) for 5 minutes.
* Oil and Grease: Use a solvent like isopropyl alcohol (IPA), followed by a thorough rinse.
* Proteins: Soak in a solution of Pepsin and HCl.
Calibration Frequency
In clean water applications, monthly calibration may suffice. In aggressive chemical processes or wastewater, weekly or even daily checks may be required. Always use the "stability" feature on your transmitter to ensure the reading has fully equilibrated before accepting a calibration point.
Common Risks and Limitations
* Dehydration: If the probe is left in a dry pipe or tank for extended periods, the gel layer will dry out, leading to permanent damage or a very long recovery time.
* Ground Loops: If the process liquid is not properly grounded, or if there are multiple ground points in the system, "stray currents" can interfere with the low-voltage pH signal. Ensure the transmitter and the process piping are correctly bonded.
* Coating: In applications like lime softening or oily wastewater, the junction can become coated. This increases the electrical resistance and causes the reading to drift. Automated cleaning systems (ultrasonic or water spray) can mitigate this.
Frequently Asked Questions (FAQ)
Q: How long does a pH probe typically last?
A: In mild conditions, a probe can last 12 to 24 months. In harsh chemical environments or high temperatures, the lifespan may be as short as 3 to 6 months.
Q: Can I use a standard pH probe in deionized (DI) water?
A: Standard probes often fail in DI water because the low conductivity causes the reference potential to become unstable. You must use a specialized "low-ion" probe with a high-flow reference junction.
Q: Why does my pH reading change when the flow starts?
A: This is likely due to streaming potentials or a ground loop issue. Ensure the probe is installed in a location with stable flow and that the system is properly grounded.
Q: Can I extend the pH cable by splicing it?
A: It is highly discouraged. The high-impedance signal is easily lost at a splice. If you must extend the distance, use a junction box with a built-in pre-amplifier or a digital (Smart) sensor system.
Conclusion
Precision in ph probe installation is the foundation of reliable process analysis. By understanding the electrochemical requirements of the sensor—such as the necessity of the 15° mounting angle and the importance of junction integrity—engineers can significantly reduce maintenance overhead. While level measurement remains a cornerstone of industrial automation, as evidenced by the advanced solutions at the Main Page, integrating robust analytical measurements like pH ensures a holistic approach to process efficiency and environmental compliance.