Ultrasonic Liquid Level Meter User Manual
Ultrasonic Liquid Level Meter User Manual: A Comprehensive Engineering Guide
In the landscape of industrial process control, accurate level measurement is a cornerstone of operational efficiency and safety. Among the various technologies available, ultrasonic sensors have emerged as a preferred non-contact solution for a wide range of liquid applications. This guide serves as a technical supplement to a standard ultrasonic liquid level meter user manual, providing engineers and technicians with the foundational knowledge required for selection, installation, and troubleshooting of these instruments.
Welk, as a professional manufacturer of industrial level measurement instruments, emphasizes that the success of any ultrasonic installation depends heavily on understanding the interaction between acoustic waves and the process environment. By adhering to the principles outlined in this guide, users can ensure high-precision data and long-term reliability in water treatment, chemical processing, and industrial automation.
1. Understanding the Measurement Principle
Before consulting an ultrasonic liquid level meter user manual for specific wiring diagrams, it is essential to understand the physics of the measurement. Ultrasonic level meters operate on the "Time-of-Flight" (ToF) principle.
The Acoustic Pulse
The device's transducer contains a piezoelectric crystal that converts electrical energy into mechanical vibrations, emitting high-frequency ultrasonic pulses (typically between 20 kHz and 200 kHz). These pulses travel through the air space above the liquid, strike the surface of the medium, and are reflected back to the transducer.
Distance Calculation
The instrument measures the time interval ($t$) between the emission of the pulse and the reception of the echo. Since the speed of sound in air ($c$) is a known constant (approximately 340 m/s at 20°C), the distance ($D$) from the sensor face to the liquid surface is calculated using the formula:
$$D = \frac{c \times t}{2}$$
To determine the actual liquid level ($L$), the device subtracts the measured distance ($D$) from the total tank height ($H$), which is programmed during commissioning:
$$L = H – D$$
Temperature Compensation
The speed of sound is highly dependent on air temperature. A change of 1°C can result in a 0.17% error in distance measurement. Therefore, professional Ultrasonic Level Meters incorporate an integrated temperature sensor to provide real-time compensation, ensuring accuracy across varying environmental conditions.
2. Selection Criteria and Technical Specifications
Selecting the correct model is the first step in ensuring a successful application. An ultrasonic liquid level meter user manual will typically list several variations based on range and environmental resistance. The following table provides a general reference for selecting a Welk ultrasonic sensor based on common industrial requirements.
Selection Reference Table
| Feature | Compact Series | Extended Range Series | Chemical Resistant Series |
| :— | :— | :— | :— |
| Measurement Range | 0.25m – 5m | 0.5m – 15m | 0.4m – 10m |
| Beam Angle | < 10° | < 8° | < 12° |
| Accuracy | ±0.25% of FS | ±0.25% of FS | ±0.5% of FS |
| Housing Material | ABS / Nylon | Aluminum Alloy | PVDF / PTFE |
| Output Signal | 4-20mA / RS485 | 4-20mA / Modbus | 4-20mA / Hart |
| Operating Temp | -20°C to +60°C | -40°C to +80°C | -30°C to +70°C |
| Protection Class | IP65 | IP67 / IP68 | IP67 |
When evaluating these specifications, engineers must consider the "Dead Zone" (also known as the blocking distance). This is the area directly beneath the sensor where measurements cannot be taken because the transducer is still vibrating from the pulse emission when the echo returns.
3. Installation Best Practices
Proper physical installation is the most critical factor in instrument performance. Most errors reported in technical support are traced back to improper mounting rather than sensor failure.
Mounting Position
* Avoid the Center: In cylindrical tanks with domed tops, do not mount the sensor in the exact center. This can cause multiple reflections (parabolic effect) that confuse the electronics.
* Wall Distance: The sensor should be mounted at a distance from the tank wall that is at least 1/6th of the tank diameter to prevent wall interference and false echoes.
* Inlet Interference: Never install the sensor directly above the liquid inlet. The turbulence and falling liquid will disrupt the ultrasonic signal.
Orientation and Alignment
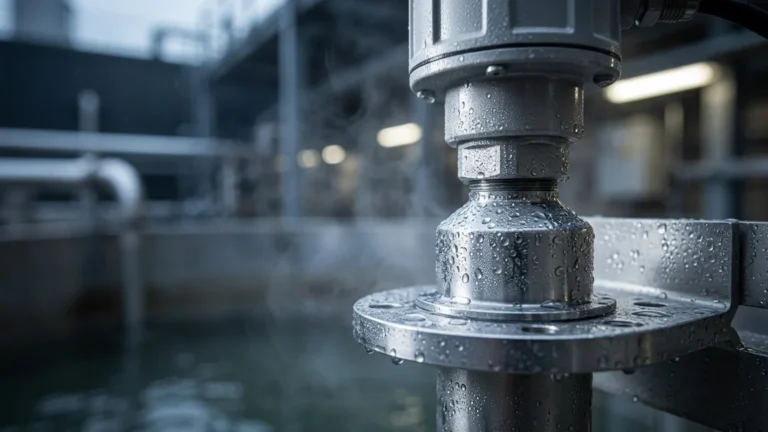
The transducer face must be perfectly parallel to the liquid surface. If the sensor is tilted, the ultrasonic pulse will reflect away from the transducer rather than back to it, resulting in a "Signal Lost" error. For outdoor installations or tanks prone to internal condensation, a slight protective shroud can prevent water droplets from accumulating on the sensor face.
The Dead Zone Consideration
Ensure that the maximum liquid level never enters the device's dead zone. If the liquid reaches this area, the meter may display an incorrect reading (often jumping to a full or empty state). If the tank is frequently filled to the top, use a standpipe or a mounting bracket to raise the sensor above the maximum fill line.
4. Electrical Wiring and Signal Integration
Modern ultrasonic meters are available in 2-wire (loop-powered) and 4-wire configurations. The ultrasonic liquid level meter user manual provided with the device will contain specific terminal assignments.
* 2-Wire Systems: The power supply and the 4-20mA output signal share the same pair of wires. This is ideal for standard monitoring where power consumption must be minimized.
* 4-Wire Systems: These have separate pairs for power (often 24V DC or 220V AC) and signal output. These units typically offer stronger pulse transmission and are better suited for long-range or difficult applications.
Shielding and Grounding
To prevent electromagnetic interference (EMI) from motors, VFDs, or high-voltage lines, always use shielded twisted-pair cables. The shield should be grounded at the control room side only to avoid ground loops.
5. Configuration and Calibration
Once installed, the device must be calibrated to the specific dimensions of the vessel. Most Welk instruments feature an LCD interface or can be configured via RS485/Modbus software.
Essential Parameters to Set:
1. Unit Selection: Choose between metric (m, cm, mm) or imperial (ft, in) units.
2. Reference Zero (Empty Distance): The distance from the sensor face to the bottom of the tank when it is empty.
3. Full Scale (Span): The distance corresponding to the maximum liquid level.
4. Damping/Response Time: Adjusts how quickly the output reacts to level changes. For tanks with surface agitation, increasing the damping time (e.g., to 10-30 seconds) will provide a more stable reading.
5. Blind Zone Setting: Manually defining the dead zone to ignore near-field noise.

6. Operational Limitations and Environmental Factors
While ultrasonic technology is versatile, it is not a universal solution. Understanding its limitations is key to avoiding application failure.
* Vacuum Conditions: Sound waves require a medium (air or gas) to travel. Ultrasonic meters will not function in a vacuum.
* High Pressure: In high-pressure environments, the density of the gas changes, affecting the speed of sound and the transducer's ability to vibrate effectively. Most standard ultrasonic meters are rated for atmospheric pressure or slight overpressure (up to 0.3 MPa).
* Heavy Foam: Thick, dense foam on the liquid surface absorbs the ultrasonic pulse rather than reflecting it. In such cases, a radar level meter or a hydrostatic transmitter may be a better choice.
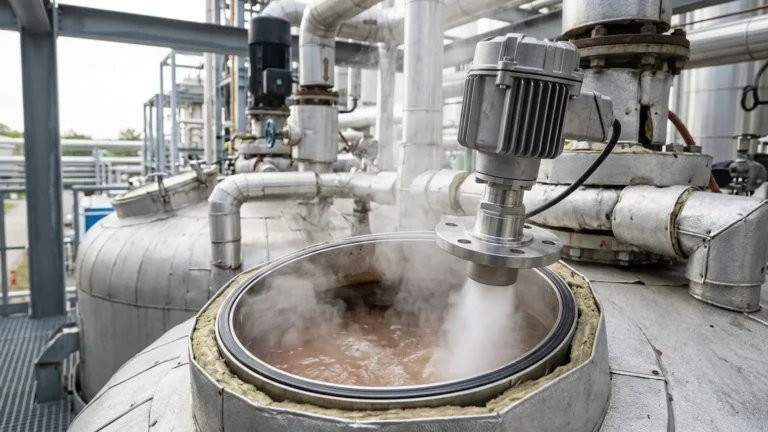
* Vapor and Dust: Heavy steam or significant dust concentrations can attenuate the signal. If the application involves boiling liquids or pneumatic filling of powders, specialized high-power transducers are required.
7. Maintenance and Troubleshooting
Ultrasonic meters are low-maintenance because they have no moving parts. However, periodic checks are recommended.
Routine Maintenance
* Sensor Cleaning: Inspect the transducer face for buildup of dust, moisture, or chemical scale. Clean gently with a soft cloth and water or mild detergent; never use abrasive materials or sharp tools.
* Cable Inspection: Ensure that cable glands remain tight to prevent moisture ingress into the electronics housing.
Common Troubleshooting Steps
| Symptom | Potential Cause | Recommended Action |
| :— | :— | :— |
| Reading is fixed at Max | Liquid is in the dead zone | Lower the liquid level or raise the sensor. |
| Reading fluctuates wildly | Surface turbulence or foam | Increase damping time or use a stilling well. |
| "Lost Signal" Error | Sensor not vertical; foam | Re-align sensor; check for foam or heavy vapor. |
| Inaccurate Reading | Incorrect temp compensation | Check internal temp sensor or manual temp setting. |
| No Display | Power supply failure | Verify voltage at terminals and check fuse. |
8. Frequently Asked Questions (FAQ)
Q: Can an ultrasonic level meter be used for solids?
A: Yes, but with caveats. Solids like grain or plastic pellets do not have a flat surface, causing the signal to scatter. This effectively reduces the usable range by approximately 50%. A larger, more powerful transducer is usually required for solids.
Q: How does wind affect the measurement?
A: In outdoor installations, strong winds can "blow" the ultrasonic pulse away, leading to signal loss. For outdoor sumps or open channels, it is best to use a protective cover or a sensor with a narrower beam angle.
Q: Is it possible to shorten the dead zone?
A: The dead zone is a physical property of the transducer's frequency. Lower frequency sensors (long-range) have larger dead zones, while higher frequency sensors (short-range) have smaller dead zones. It cannot be eliminated via software.
Q: Can I use an ultrasonic meter in a tank with an agitator?
A: Yes, provided the sensor is mounted such that the beam does not hit the agitator blades. Sophisticated software in modern meters can often "mask" or ignore fixed echoes from internal tank structures.
Conclusion
A thorough understanding of the ultrasonic liquid level meter user manual and the underlying acoustic principles allows for the successful automation of liquid monitoring. By selecting the appropriate hardware for the chemical and physical environment, and following strict installation protocols, industrial users can achieve high-precision measurements with minimal maintenance overhead.
For engineers seeking to upgrade their current systems or specify new installations, reviewing the latest technical data for Ultrasonic Level Meters is the best way to ensure compatibility with modern industrial IoT and control frameworks. Welk continues to provide the robust instrumentation and technical support necessary to solve the most challenging level measurement tasks across the globe.