How to Level Light Switches
How to Level Light Switches
In the context of industrial process control, the term "leveling" refers to the precise spatial orientation and mechanical alignment of point level sensors. While a consumer might search for instructions on aligning a wall-mounted toggle, for a process engineer, understanding how to level light switches—specifically optical level switches and other point-level detection devices—is critical for ensuring the integrity of automated systems. Precise installation prevents false positives, sensor bypass, and mechanical failure in high-pressure or corrosive environments.
Industrial Level Switches serve as the primary defense against tank overfills and pump cavitation. Whether using optical (light-based), vibrating fork, or capacitive technologies, the physical alignment of the sensor relative to the liquid surface determines the accuracy of the switching point.
Understanding the Principles of Optical Level Switches
Before addressing the mechanical installation, it is essential to understand the measurement principle of optical level switches, which are often the focus when discussing light-based level detection. These sensors operate based on the laws of refraction and reflection.
An optical level switch typically contains an infrared LED and a light receiver. These components are housed within a transparent prism (usually made of glass or polysulfone). When the sensor is in a dry state (surrounded by air), the light from the LED is internally reflected within the prism back to the receiver. However, when the prism is immersed in a liquid, the refractive index at the interface changes. The light is no longer reflected but is instead refracted into the liquid, causing the receiver to detect a loss of light signal. This change triggers the switch output.
Because this technology relies on the interaction of light at a specific boundary, the orientation of the sensor is paramount. If the sensor is not leveled correctly, liquid may pool on the prism surface even after the level has dropped, leading to a "stuck" high-level signal. This is why learning how to level light switches of the optical variety requires a focus on drainage and prism orientation.
Measurement Principles of Other Point Level Technologies
While optical switches use light, other common industrial level switches use mechanical or electrical properties. Understanding these helps in determining the correct leveling approach for each.
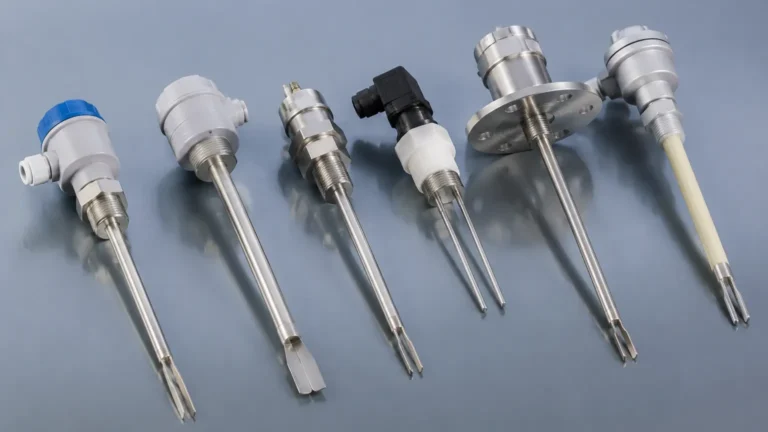
1. Vibrating Fork Switches: These utilize piezoelectric crystals to vibrate a pair of tines at their resonant frequency. When the tines are submerged, the frequency shifts, which is detected by the electronics. Alignment here focuses on the orientation of the tines to the flow of the liquid.
2. Capacitive Level Switches: These measure the change in capacitance between the sensor probe and the tank wall. Leveling is less about the angle and more about the distance from the wall and the avoidance of internal obstructions.
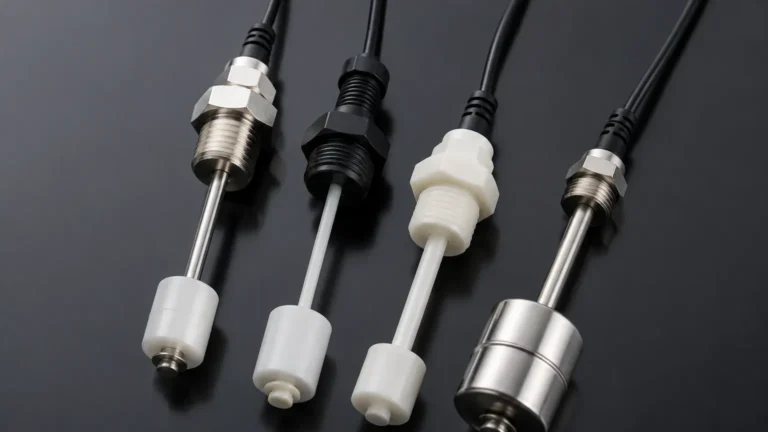
3. Float Switches: These rely on buoyancy. Leveling is critical to ensure the float arm or magnetic carrier can move freely through its intended arc without binding.
Step-by-Step Guide: How to Level Light Switches for Industrial Use
When installing an optical or point-level switch, follow these engineering steps to ensure the device is leveled and aligned according to professional standards.
1. Pre-Installation Inspection
Before mounting, verify the material compatibility of the sensor prism or probe with the process media. Ensure the mounting boss or NPT/BSP thread is clean and free of burrs. For optical switches, check the prism for any scratches, as these can scatter light and cause malfunctions.
2. Determining the Switching Point
The switching point is not always the center of the sensor. Refer to the manufacturer’s technical drawing to identify the exact "actuation point." Mark this level on the exterior of the tank to ensure the sensor is installed at the correct height.
3. Mechanical Alignment (Leveling)
When considering how to level light switches, the goal is to ensure the sensor is perfectly perpendicular or horizontal depending on the mounting type:
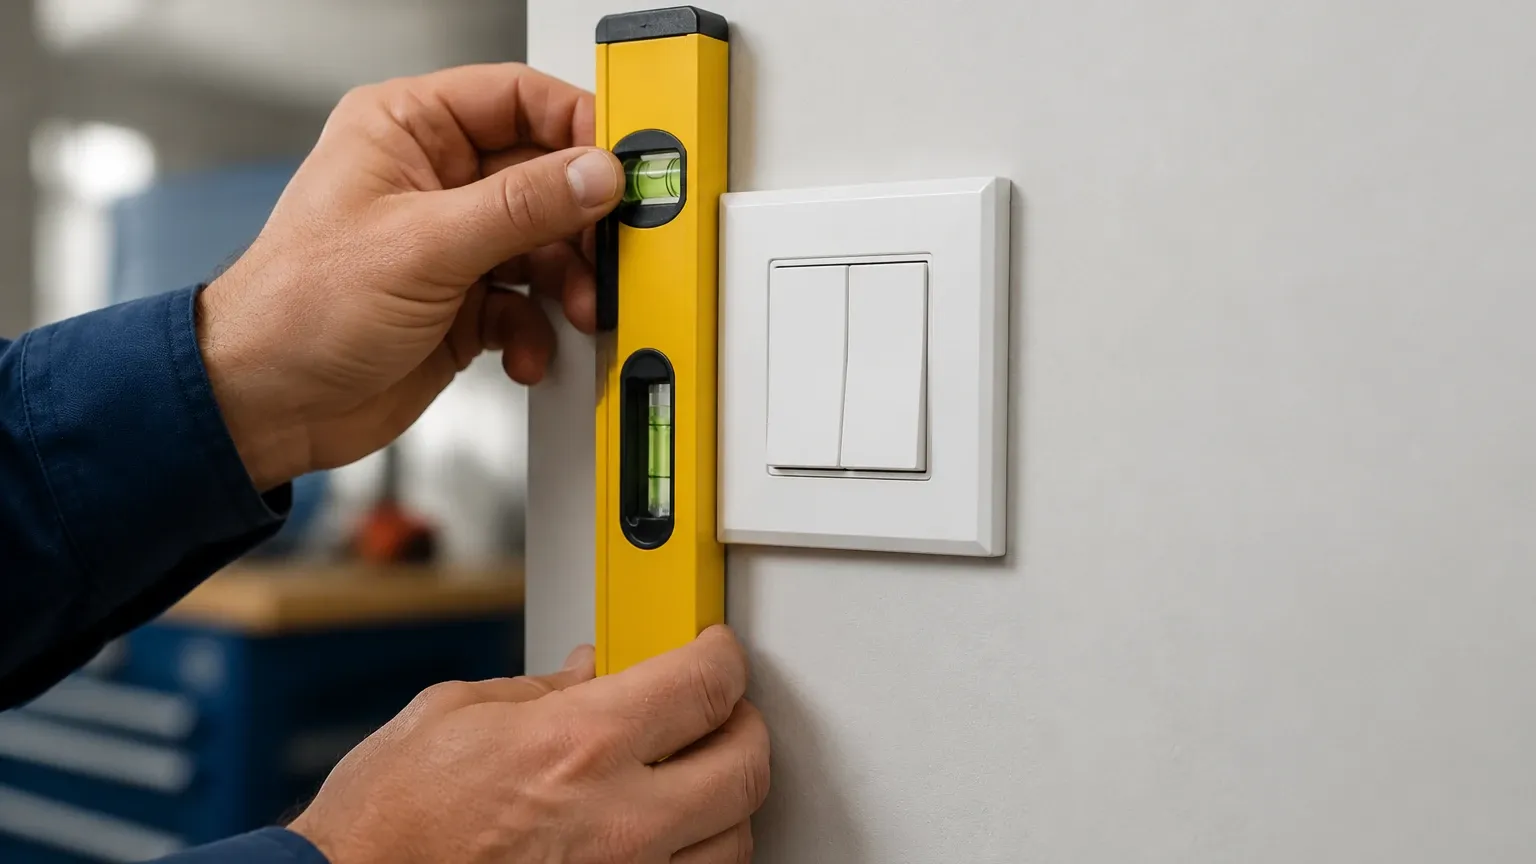
* Side Mounting: Use a precision spirit level on the flat surface of the sensor housing. For optical switches, the prism should be oriented so that liquid can naturally gravity-drain away from the sensing tip. In many cases, this means the prism faces should be angled rather than flat-horizontal to prevent droplet accumulation.
* Top Mounting: Ensure the probe is perfectly vertical. A deviation of even 2 or 3 degrees can cause issues in deep tanks where the probe might come into contact with agitators or internal baffles.
4. Orientation of the Tines or Prism
For vibrating fork switches, the tines must be oriented so that the liquid can flow through them rather than being blocked by them. Most industrial switches have a mark (usually a notch or arrow) on the hexagonal nut indicating the orientation of the tines. Ensure this mark is aligned according to the flow direction or gravity drainage requirements.
5. Final Torque and Sealing
Once leveled, tighten the switch to the specified torque (typically 20-50 Nm depending on thread size and material). Over-tightening can deform the housing and throw the internal optical alignment out of calibration.
Practical Selection Table for Level Switches
Choosing the right technology is the first step toward a successful installation. The following table compares common point level switches used in industrial automation.
| Technology | Best For | Temperature Range | Pressure Limit | Leveling Priority |
| :— | :— | :— | :— | :— |
| Optical | Clean liquids, leak detection | -30°C to +125°C | Up to 50 bar | Prism drainage angle |
| Vibrating Fork | General purpose, slurries | -50°C to +150°C | Up to 100 bar | Tine orientation |
| Capacitive | Powders, high viscosity | -40°C to +200°C | Up to 25 bar | Distance from wall |
| Float | Water treatment, fuel | -20°C to +100°C | Up to 10 bar | Mechanical clearance |
Installation Considerations and Limitations
Even a perfectly leveled switch can fail if environmental factors are ignored. When implementing a solution, consider the following technical boundaries:
* Coating and Buildup: Optical switches are sensitive to coating. If the liquid is highly viscous or prone to crystallization, a vibrating fork or a capacitive switch with "active shield" technology may be more appropriate. If you must use an optical switch, leveling it at a downward 45-degree angle can help shed buildup.
* Turbulence and Foam: Surface foam can cause false triggers in optical sensors because the foam scatters the light. In such cases, installing the sensor inside a stilling well—and ensuring that well is perfectly leveled—is necessary.
* Ambient Light Interference: Although most industrial optical switches use modulated infrared light to ignore ambient sources, extremely bright sunlight or high-intensity industrial lighting can occasionally cause interference. Ensure the sensor housing is opaque and the cable entry is sealed.
* Pressure Ratings: Always verify that the process pressure does not exceed the sensor's rating. High pressure can cause "creep" in the seals, eventually tilting the sensor and ruining the level alignment.
Common Risks of Improper Leveling
Failure to properly level a switch can lead to several industrial hazards:
1. False Negatives: If a vibrating fork is angled such that a pocket of air is trapped between the tines, it may fail to detect the liquid, leading to a tank overflow.
2. Delayed Response: If an optical switch is leveled such that liquid pools on the prism, the switch may remain in the "wet" state for several seconds or minutes after the actual liquid level has dropped.
3. Mechanical Stress: In top-mount applications, a non-leveled probe is subject to increased lateral forces from fluid movement, which can lead to metal fatigue at the mounting point.
Frequently Asked Questions (FAQ)
Q: Can I install an optical level switch upside down?
A: Yes, most optical switches can be mounted in any orientation. However, when mounted from the bottom (pointing up), you must ensure there is no sediment buildup that could cover the prism and mimic the presence of liquid.
Q: How do I know if my switch is leveled correctly after the tank is sealed?
A: Most professional Level Switches feature an LED status indicator on the rear of the housing. By performing a "dry run" and then manually filling the tank to the actuation point, you can verify the switch triggers exactly when the liquid reaches the marked level.
Q: Does the color of the liquid affect the leveling of an optical switch?
A: The color generally does not matter, but the transparency does. For very dark or opaque liquids, the refraction principle still works, but the sensor sensitivity may need to be adjusted. Proper leveling remains the same: ensure the prism is clear of bubbles and film.
Q: What tools are required for leveling industrial switches?
A: At a minimum, a calibrated spirit level, a torque wrench, and thread sealant (like PTFE tape or specialized pipe dope) are required. For high-precision applications in large silos, laser alignment tools may be used to ensure the probe is centered.
Conclusion
Mastering how to level light switches in an industrial environment is a blend of understanding optical physics and applying rigorous mechanical standards. By ensuring that optical prisms are oriented for drainage and that mechanical probes are perfectly vertical or horizontal, engineers can significantly increase the reliability of their level detection systems. For critical applications, always consult the specific technical data sheet provided by the manufacturer to confirm mounting tolerances and environmental limits.